Add a Wood Stove to a Regular Tent
Adding a wood stove to your tent opens up a world of comfort, warmth, and extended camping seasons. Whether you're planning a winter basecamp or a cozy autumn getaway, a properly installed tent stove transforms your shelter into a functional living space. Here's what you need to know to get started.

Choose the Right Stove for Your Tent
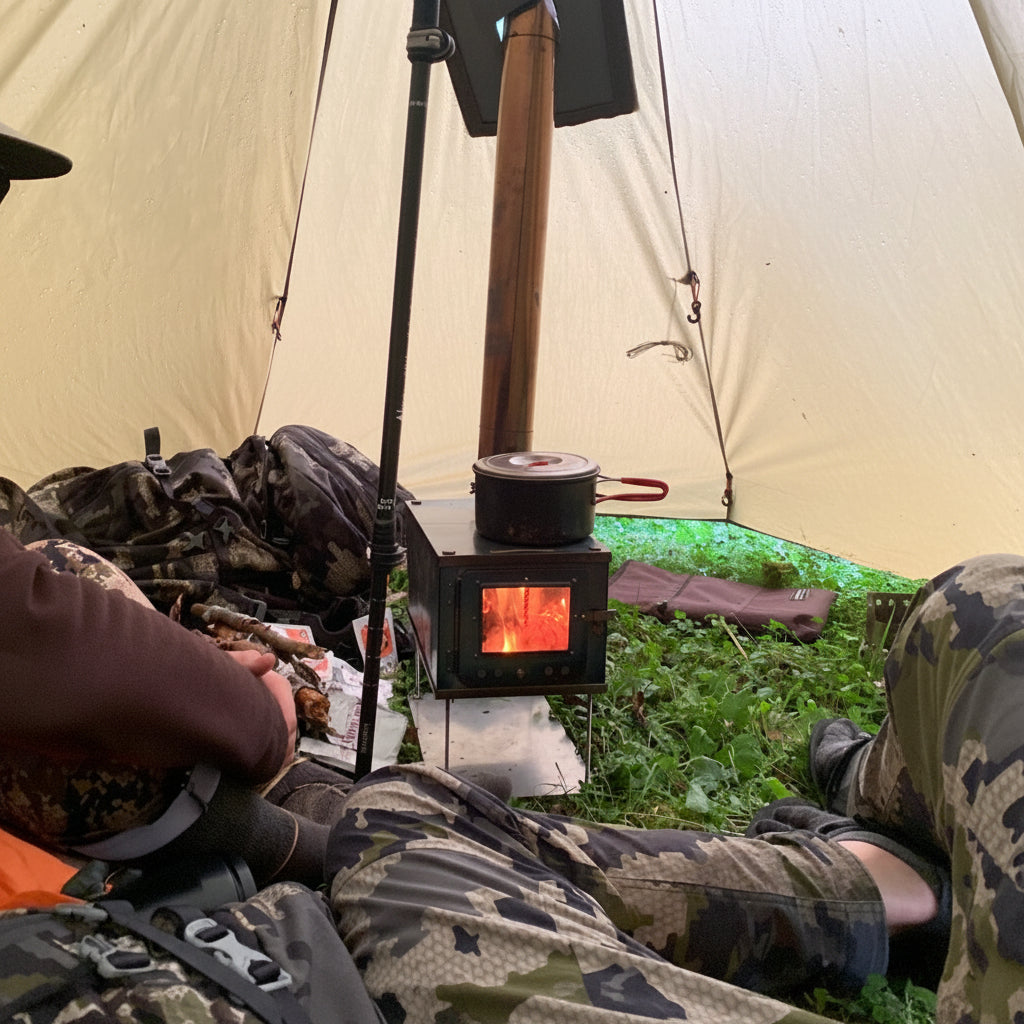
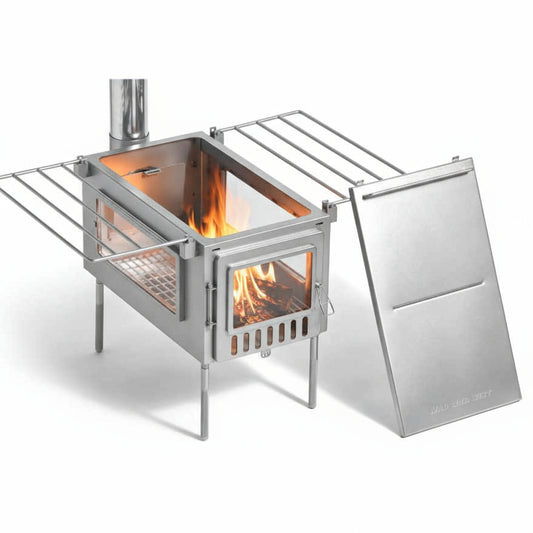
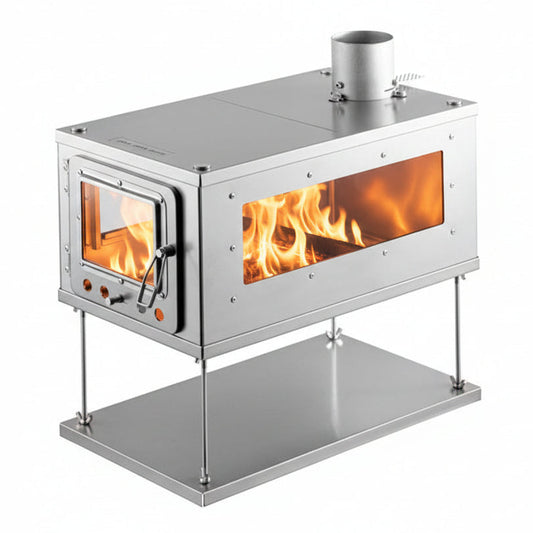
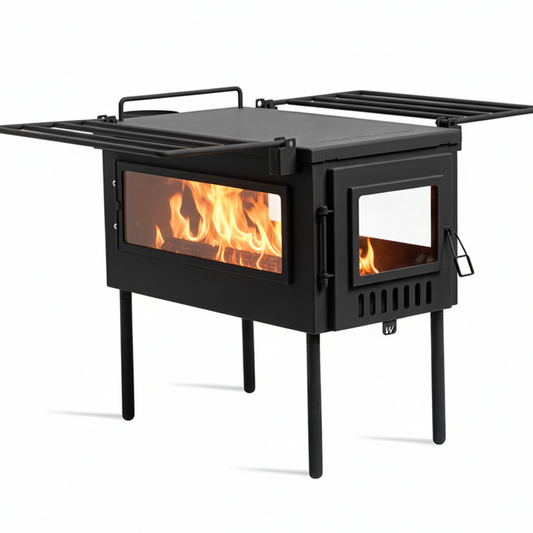
Not all tent wood stoves are created equal. Look for a compact wood stove designed specifically for tent use—typically weighing between 2 and 50 pounds with a footprint small enough to fit inside your shelter without consuming precious floor space. Bell tents, wall tents, and canvas structures work best with traditional wood stoves, while small lightweight backpacking tents may not accommodate them safely.
Consider the heating capacity you need. A smaller stove works well for intimate two-person setups, while larger groups benefit from stoves with greater heat output. Steel construction is durable and affordable, titanium is for backcountry use.
Prepare Your Tent Structure
Your tent must have a stove jack—a proper chimney hole for the pipe to exit the shelter. The opening should lightly fit around your chimney so that the tent wall can move freely in wind.
Ensure your tent has adequate ventilation. Fresh air intake near ground level, or simply cracking a door, and an outlet at the roof level create natural airflow that improves stove performance and reduces the risk of CO poisoning inside your shelter.
Install Your Chimney System
The chimney is your stove's lifeline. Use piping sections that connect securely without gaps. The chimney should rise vertically inside the tent, then exit through your roof jack at a slight angle if needed. Proper height matters—aim for at least 4 to 6 feet of chimney inside the tent to maximize heat output of the stove, and 1'-2' above the peak height outside the shelter.
Secure all connections with appropriate fasteners and ensure there's clearance between the chimney and any tent fabric or gear. A minimum of 12 inches of clearance from combustible materials is standard practice.
Create a Safe Hearth Area
Install your stove on a stable, non-combustible base. Leave at least 3 feet of clear space around the stove on all sides for safe operation and emergency access.
Position the stove toward one side of your tent rather than the center, which maximizes usable living space while maintaining proper ventilation patterns. However, center mounted stoves have higher heat efficiency.
Stock Quality Firewood
Seasoned hardwoods like oak, maple, and ash burn hotter and longer than softwoods. Never use treated, painted, or wet wood—these release harmful fumes and create dangerous creosote buildup in your chimney. Store firewood outside your tent in a dry location, bringing in only what you'll burn that day if your in a small space.
Master Safe Operation
Start with small fires and monitor the stove closely during your first use. Open vents gradually to establish a steady draft. Keep a fire extinguisher rated for wood fires or water nearby, and always have an adult present when the stove is in use.
Never leave a burning stove unattended. Establish a simple routine: check the chimney for blockages before lighting, maintain steady airflow, and let fires burn down before sleeping rather than smoldering through the night.
Maintain and Inspect Regularly
Creosote buildup is a silent hazard. Clean your chimney at the start of each season and after every 10 to 15 fires, depending on wood type. Check all connections, seals, and the roof jack before each trip. Small maintenance gaps can lead to dangerous conditions or poor performance.
A well-installed tent stove becomes the heart of your outdoor basecamp—delivering warmth, ambiance, and the confidence to venture out during cooler months when most people stay home.