Keep a Tent from Burning Using a Wood Stove Inside
What Is a Stove Jack and Why Your Tent Wood Stove Needs One
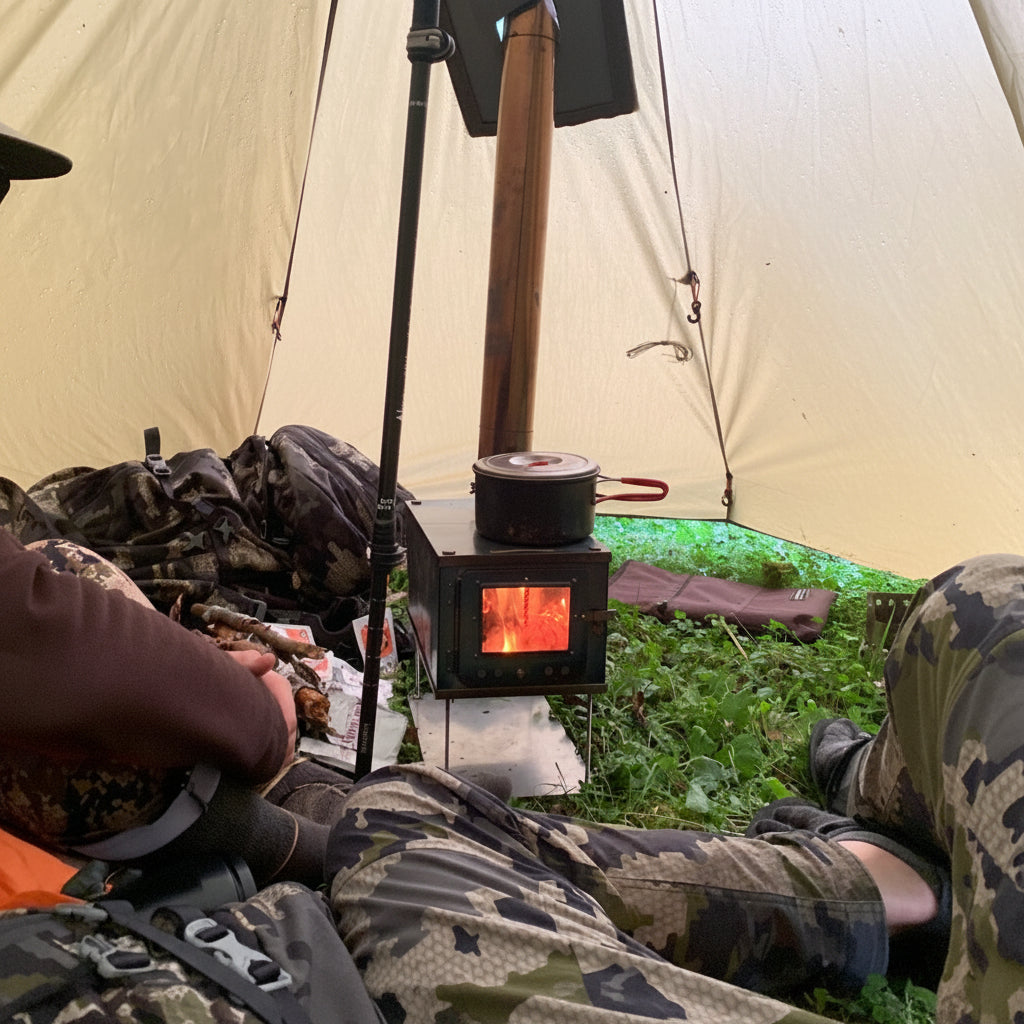
If you're planning to use a wood stove inside your tent, a stove jack is one of the most critical safety components you'll install. A stove jack is a specialized opening in your tent fabric designed to safely accommodate the stovepipe as it exits toward the roof. Without it, you're risking fire damage, tent degradation, and potential injury.

Understanding Stove Jack Basics
A stove jack serves a single but essential purpose: it creates a controlled passage for your stovepipe while protecting the tent material from extreme heat. Most stove jacks are made from silicone-coated fiberglass or similar heat-resistant materials. They're typically circular or oval-shaped and come with a collar that attaches to the tent fabric, creating an airtight seal around the pipe.
The jack itself doesn't generate heat—it's designed to withstand it. The silicone coating reflects radiant heat away from the tent fabric, while the collar prevents sparks, embers, and hot gases from contacting the surrounding material.
Choosing the Right Stove Jack for Your Setup
Stove jacks come in different sizes to match common stovepipe diameters. Most wood stoves use pipes ranging from 2 to 6 inches in diameter. Before purchasing, measure your stovepipe's outer diameter and verify that your tent's fabric can accommodate the installation.
Consider the height at which you'll install the jack. It should be positioned high enough on the tent wall or roof to allow the stovepipe to exit at a safe angle—typically 15 to 30 degrees from vertical.
Installation Steps
Step 1: Mark the Location
Determine where the stovepipe will exit your single walled tent. Mark the spot on the fabric, ensuring it's at least 12 inches away from any seams or structural elements. The location should align with your stove's position inside the tent.
Step 2: Cut the Opening
Carefully cut a hole in the tent fabric slightly smaller than the stove jack collar. Use a sharp utility knife and make clean, straight cuts. Some stove jacks include a template to guide your cutting.
Step 3: Attach the Collar
Slide the stove jack collar through the opening from inside the tent. The collar should sit flush against the fabric. Most jacks use adhesive strips, stitching, or both to secure the collar permanently. Follow the manufacturer's instructions for your specific product.
Step 4: Seal the Seams
Apply heat-resistant sealant around the collar's edges to prevent water infiltration and air leaks. This step is especially important if your tent will be exposed to rain or snow.
Step 5: Install the Stovepipe
Once the jack is secure and the sealant has cured, insert the stovepipe through the opening. The pipe should fit snugly but not so tightly that it restricts the tent wall being able to move in the wind.
Safety Considerations
Never install a stove jack without one. The risk of fire is too high. Tent fabric, even treated canvas, will ignite if exposed to sustained heat above 300°F. A stovepipe can easily exceed 400°F during operation.
Maintain at least 12 inches of clearance between the stovepipe and any tent fabric, ropes, or gear. This clearance allows heat to dissipate safely and reduces the chance of accidental contact.
Maintenance and Longevity
A well-installed stove jack can last for years with minimal maintenance. After each camping season, inspect the jack for debris, creosote buildup, or water damage. Clean the exterior with a soft cloth and mild soap if needed.
Store your tent in a dry location during the off-season. Prolonged exposure to moisture can weaken the adhesive or sealant around the jack, so ensure the area is well-ventilated and protected from humidity.
Final Thoughts
A stove jack is a small investment that makes a massive difference in safety and performance. Whether you're setting up a hot tent for winter camping or a semi-permanent base camp, installing a quality stove jack correctly ensures that you can enjoy the warmth and comfort of your wood stove without compromising the integrity of your shelter. Take the time to do it right, and you'll have reliable, safe heat for years to come.