How to Reduce Smoke When Lighting a Tent Wood Stove
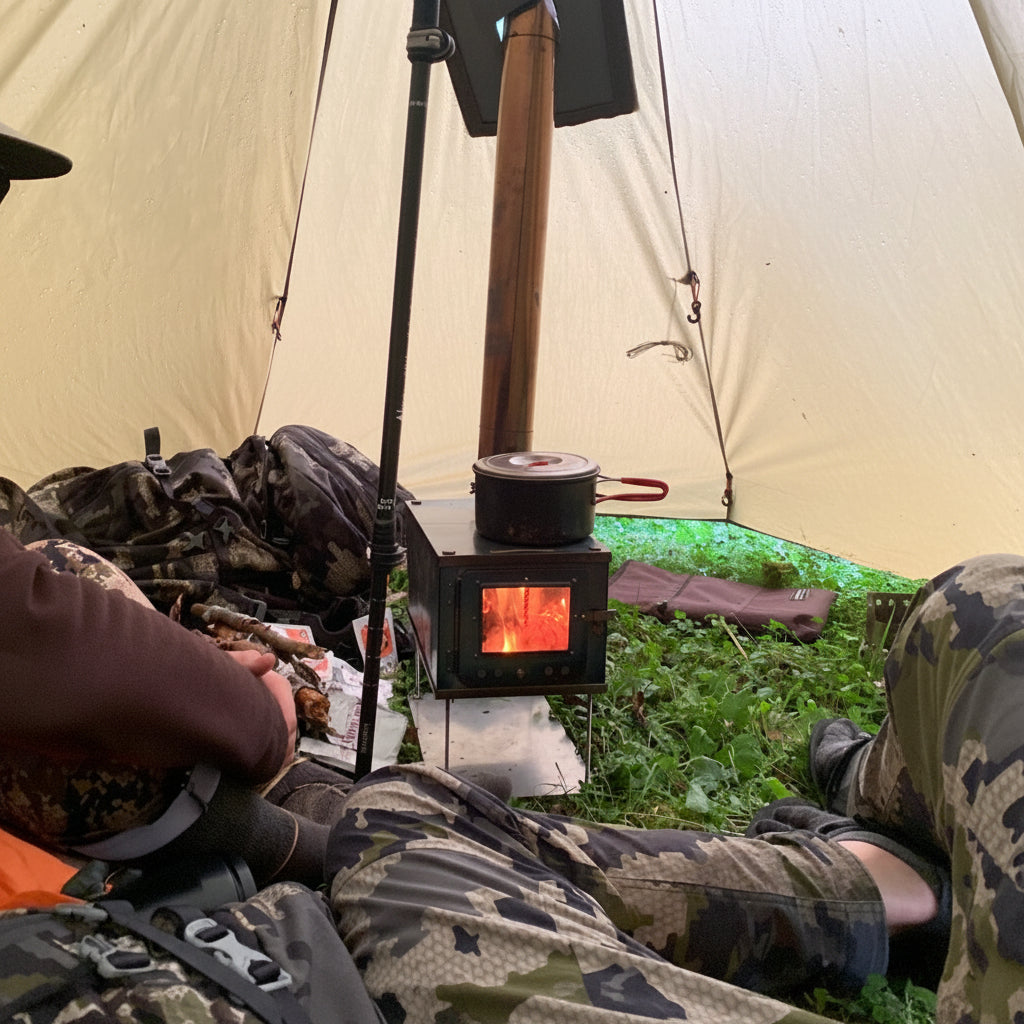
Lighting a wood stove inside a tent can be tricky—too much smoke and you'll have an uncomfortable experience, not to mention potential safety concerns. The good news is that with a few proven techniques, you can minimize smoke and get your stove burning cleanly and efficiently from the start.

Start with Dry Wood
The foundation of smoke-free burning begins before you even strike a match. Wet or damp wood is the primary culprit behind excessive smoke. Wood needs to be seasoned off the ground for at least six to twelve months to reach optimal moisture content—ideally below 20 percent. When you're out camping, store your firewood in a dry location, away from ground moisture and rain. If you're cutting wood on-site, split it and let it dry for several days if possible. Dry wood ignites faster, burns hotter, and produces significantly less smoke than its wet counterpart.
Use Proper Kindling and Tinder
Building a strong foundation for your fire makes all the difference. Start with fine, dry tinder—think bark, dry leaves, or commercial fire starters. Layer small kindling (pencil-thin twigs) in a loose teepee or log cabin structure that allows air to flow freely. This creates a hot, oxygen-rich environment that burns cleanly. Avoid packing kindling too tightly, as restricted airflow forces incomplete combustion and generates smoke. Once your kindling is burning well, gradually add larger pieces of wood.
Manage Your Stove's Airflow
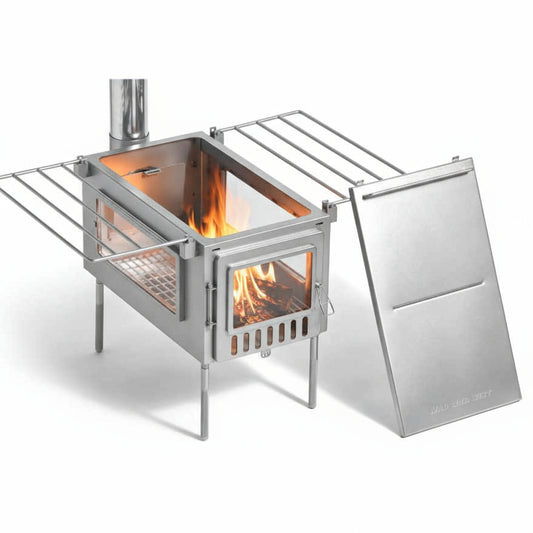
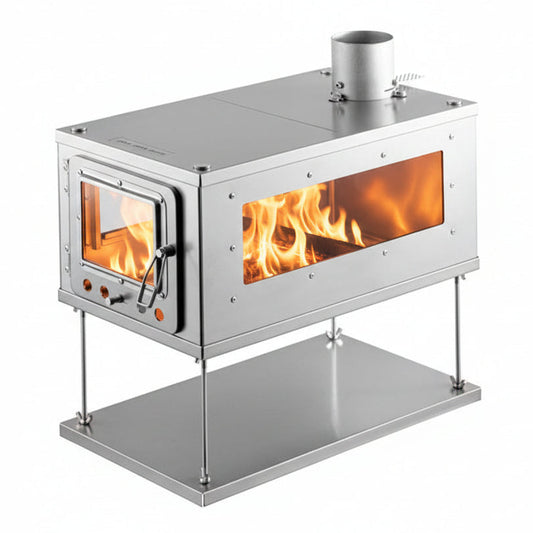
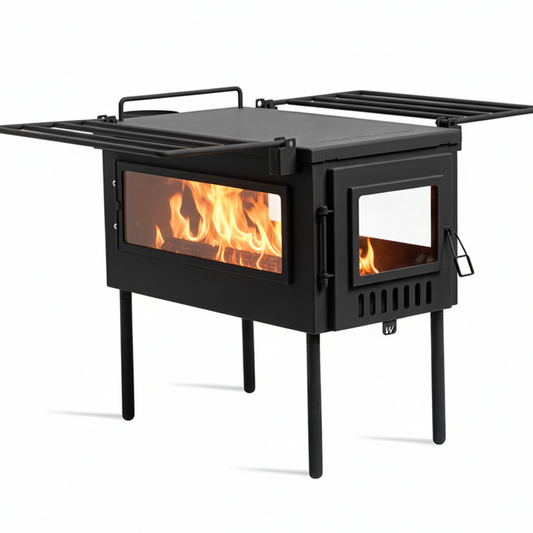
Most tent wood stoves have adjustable air vents or dampers. When lighting, open these fully to maximize oxygen supply and create a strong draft. A well-established draft pulls smoke up and out through the chimney rather than letting it linger in your tent. Once your fire is established and burning steadily, you can adjust the vents to control heat output and fuel consumption.
Avoid Overloading the Stove
Patience pays off when loading wood. Add pieces gradually rather than stuffing the firebox full at once. An overloaded stove restricts airflow, cools the fire, and produces excess smoke. Load wood in a way that allows flames to move freely around each piece. This approach also gives you better control over heat output and reduces the risk of overfiring your stove.
Check Your Chimney Setup
A properly installed chimney is essential for smoke control. Ensure your stovepipe is clear of obstructions, creosote buildup, or debris. The chimney should rise vertically with minimal bends, and it needs to extend high enough above your tent to create adequate draft. A chimney that's too short or poorly angled won't pull smoke effectively.
Let the Fire Establish Before Closing Doors
When you first light your stove, keep tent doors open for a few minutes. This allows initial smoke to escape and helps establish a strong draft through the chimney. Once you see a steady flame and the stove is drawing well, you can close up your tent. This simple step prevents smoke from backing up into your living space during the critical startup phase.
Season Your Stove
If you're using a new stove, the first few burns may produce more smoke as manufacturing residues cure. Run several fires at moderate temperatures to season the stove properly. This process clears out these materials and helps the stove perform at its best.
With dry wood, proper airflow, and a well-maintained chimney system, you'll enjoy a warm, smoke-free camping experience. The key is preparation and patience—rushing the process only leads to frustration and a tent full of smoke.