Installing a DIY Stove Jack in a Standard Tent
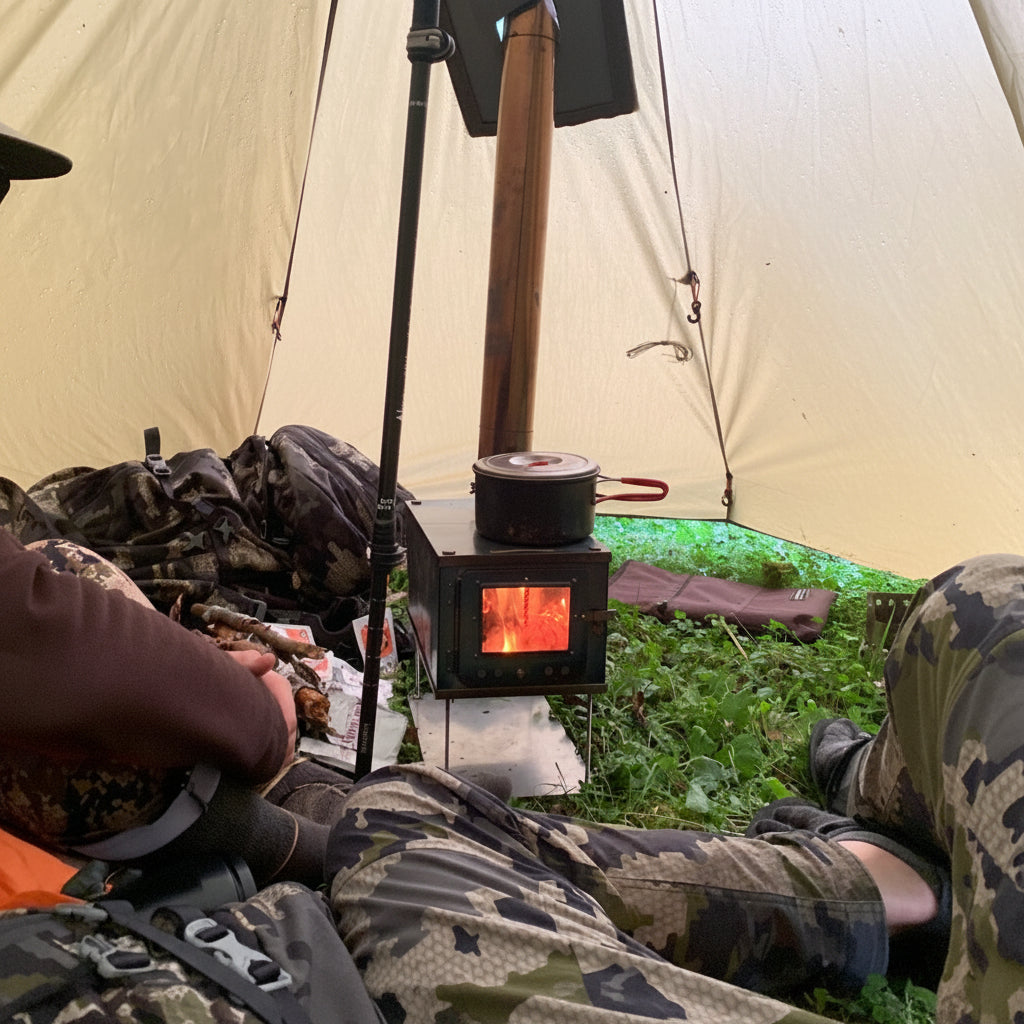
A stove jack is an essential modification for anyone looking to safely use a wood stove inside a traditional tent. These simple installations allow heat and smoke to exit your shelter while maintaining structural integrity and fire safety. Here's the two most common options.

Understanding Your Stove Jack Options
When it comes to equipping your tent with a stove jack, you have two primary paths: aftermarket metal ring kits, or DIY sewn installations. Understanding the differences between these options helps you choose the right solution for your needs and budget.
Metal Ring Style Stove Jack Kits
Aftermarket stove jack kits with metal rings are the most common retrofit solution for traditional tents. These kits consist of a rigid metal ring (usually aluminum or stainless steel) paired with a heat-resistant fabric. The metal ring provides structural support and sits flush against your tent fabric, while the collar protects the tent material from direct heat exposure. Installation requires cutting an opening in your tent and securing the ring—either with adhesive, mechanical fasteners, or a combination of both. These kits are affordable, widely available, and work with most tent designs. Metal ring kits are ideal if you already own a tent and want to add stove capability without purchasing a new hot tent.
DIY Sewn-in Stove Jack Kits
DIY sewn stove jacks are integrated into the tent at home with a sewing machine. Rather than a metal ring, these jacks feature multiple layers of reinforced, heat-resistant fabric that are stitched directly into the tent's structure. The stove jack coverage area is often more robust and have a larger coverage area. Sewn installations distribute stress more evenly across the fabric, reducing tear risk, and creating a more weatherproof seal (if it features a rain flap).
Both options have merit depending on your situation. Choose a metal ring kit if you're retrofitting an existing tent on a budget. Opt for a sewn jack if you're using a wood stove with an extra large diameter chimney pipe.
Installing a Ring Style Stove Jack
Before starting, gather the following materials: a stove jack kit (typically includes a metal ring and heat-resistant fabric collar), a sharp utility knife, a measuring tape, and optionally, a heat-resistant adhesive or sealant designed for canvas or synthetic fabrics.
Measure and Mark Your Location
Determine where your stove will sit inside the tent, then identify the ideal spot on the roof or wall for the stove pipe to pass through. This must only be through a single wall of fabric in your tent design. The jack should be positioned directly above the stove pipe exit point. Measure the diameter of your stove pipe and mark a circle on the tent fabric that matches the inner diameter of your stove jack ring. Most standard stove jacks accommodate pipes between 2 and 6 inches in diameter.
Cut the Opening Carefully
Some designs allow you to install the ring, before cutting the hole in your tent. Using a sharp utility knife, carefully cut along your marked circle. Take your time with this step—a clean, precise cut prevents fraying and ensures a tight seal. Make sure to measure the diameter correctly, using the measure twice and cut once philosophy.
Install the Stove Jack Ring
Position the metal ring of the stove jack around the opening you've created. Most stove jack kits feature a ring that sits flush against the tent fabric. Secure it according to the manufacturer's instructions. If using adhesive, apply it sparingly around the ring's base and allow it to cure fully before using your stove.
Attach the Heat-Resistant Collar
The fabric collar that comes with your stove jack serves as a protective barrier between the hot pipe and your tent material. The collar should hang loosely enough to accommodate pipe movement from heat expansion and wind hitting the tent wall, but snugly enough to prevent drafts. Secure the collar to the ring according to kit instructions, typically using provided fasteners or bolts.
DIY Sewn-in Stove Jacks
These integrated jacks are installed with a sewing machine into the tent wall.
Sewn stove jacks typically reinforced with multiple layers of heat-resistant fabric, creating a more durable and weatherproof connection, and usually feature a rain flap to add with redirecting water around the chimney pipe hole. The jack is typically stitched directly into the tent's structure, distributing stress more evenly and reducing the risk of fabric tearing around the opening.
When shopping for a tent with a sewn stove jack, verify that the fireproof fabric diameter is greater than the stove pipe size.
Maintenance Tips
Inspect your stove jack regularly for wear, especially the heat-resistant collar. Over time, exposure to heat and weather can degrade the fabric. This is normal, but with time if it prevents the stove from being structurally functional, it should be replaced.
A properly installed stove jack transforms your traditional tent into a safe, comfortable heated shelter. Take your time with installation, follow your kit's specific instructions, and prioritize safety above all else.