Installing a Stove Pipe Through a Tent Wall
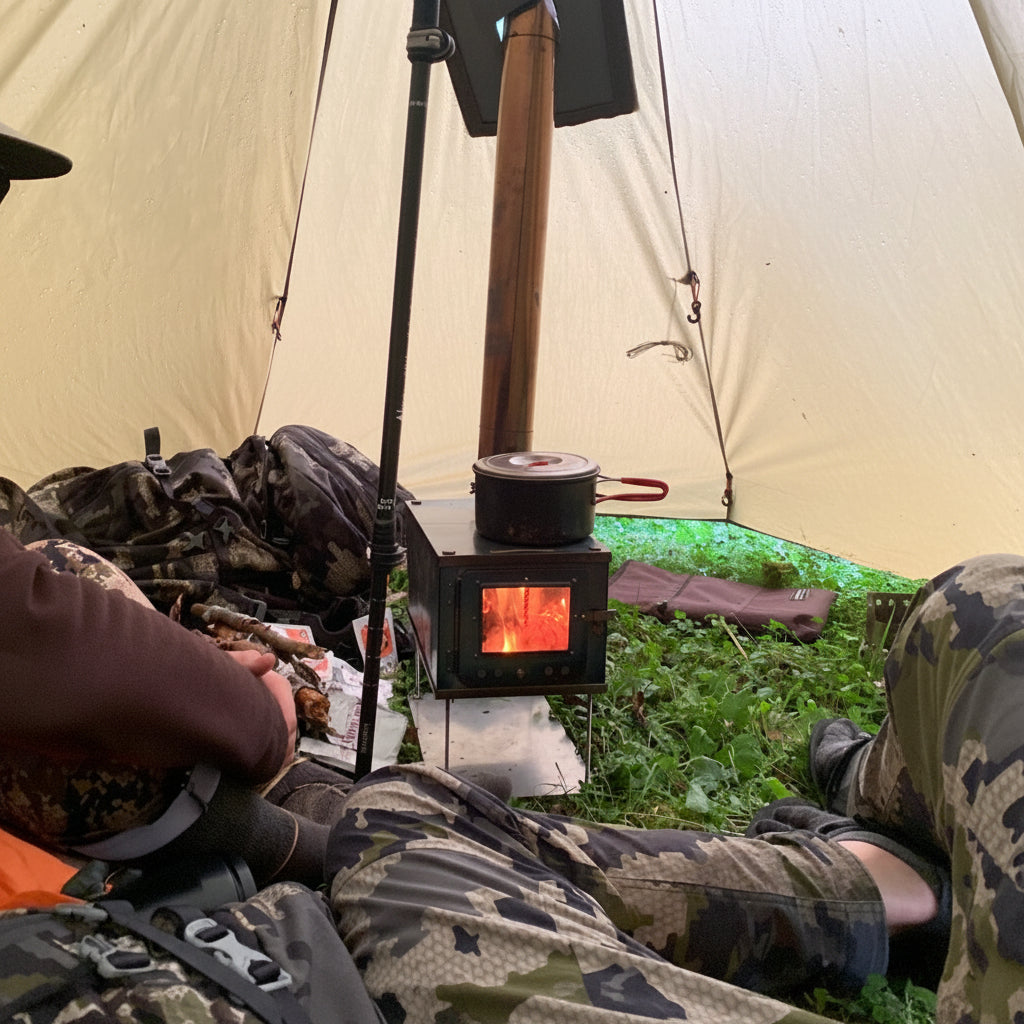
Installing a tent wood stove stove pipe through your shelter wall is one of the most critical steps in setting up a hot tent system. Done correctly, it ensures safe operation, prevents heat damage, and keeps your interior warm and dry. Here's how to do it right.

Why Proper Installation Matters
A stove pipe penetration is where your tent is most vulnerable to heat damage and water infiltration. The pipe itself reaches extreme temperatures, and improper sealing can lead to melting fabric. Taking time to install it properly protects your investment and keeps your camping experience safe and comfortable.
What You'll Need
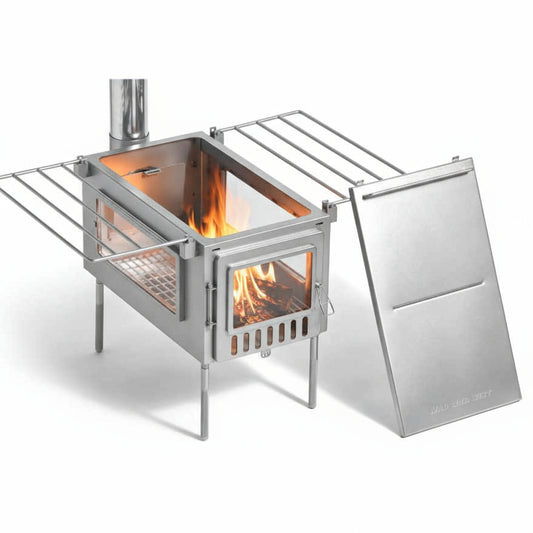
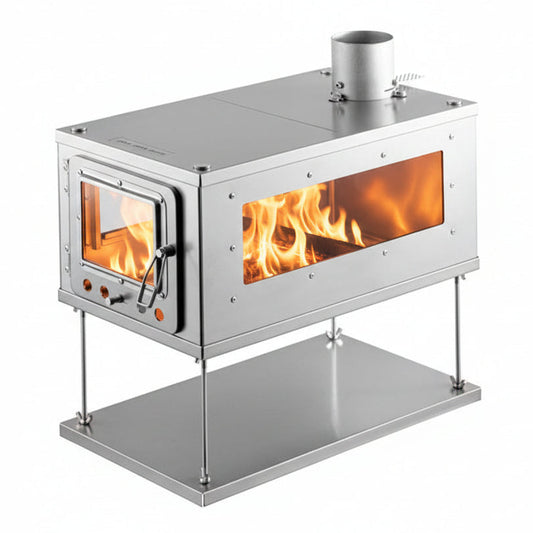
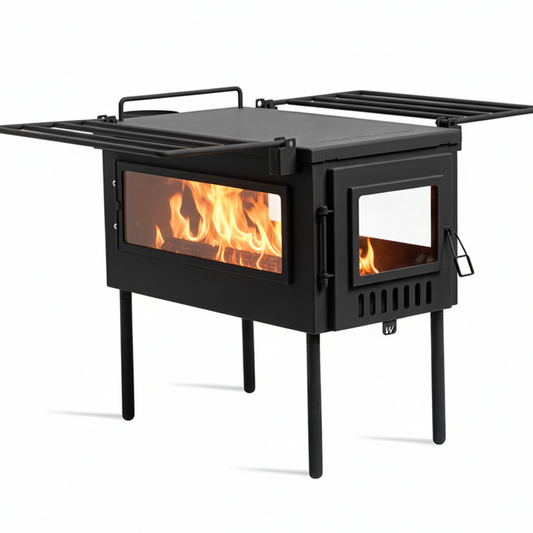
- Your hot tent stove and chimney pipe sections
- A stove jack or heat-resistant collar (designed for your tent wall thickness)
- High-temperature silicone sealant or fire-resistant tape (optional)
- A measuring tape and marker
- A sharp utility knife or tent repair tool
Step-by-Step Installation
1. Choose Your Location
Select a spot on your single wall tent, that's away from corners and seams. Ideally, position it on the side that faces away from prevailing winds. Mark the center point where the pipe will exit, ensuring it's high enough that the pipe clears the tent roof when angled slightly outward.
2. Cut the Opening
Measure the diameter of your stove jack. Using a sharp knife, carefully cut a clean circular or square opening in the tent fabric. Take your time—a clean cut is easier to seal than a ragged one.
3. Install the Stove Jack
Insert the stove jack through the opening from the inside. The jack should sit flush against the tent wall, with the heat-resistant collar creating a tight seal. Most quality jacks are designed to grip the fabric securely.
4. Seal the Perimeter
Optionally apply high-temperature silicone sealant or fire-resistant tape around the edges where the jack meets the tent fabric. This prevents water from seeping in. Follow the product instructions for curing time before using your stove.
5. Assemble and Insert the Pipe
Connect your chimney pipe sections together, starting from the stove. Insert the first section through the stove jack opening. The pipe should fit snugly, but not so tight that the wall can not move freely in high winds.
Common Mistakes to Avoid
- Cutting too large an opening: A gap larger than necessary makes sealing difficult and wastes heat.
- Skipping the sealant: Even a small gap can let water in
- Installing too low: Ensure the pipe exits high enough to clear the tent roof and allow proper draft.
- Using the wrong materials: Standard silicone or tape won't withstand stove pipe temperatures. Always use high-temperature rated products.
Maintenance and Inspection
Before each camping trip, inspect your stove jack and pipe connection for any signs of damage, loosening, or deterioration. Check the sealant for cracks or gaps. If you notice any issues, reseal or replace the jack before using your stove. Regular inspection extends the life of your tent and keeps your setup safe.
Final Thoughts
A properly installed stove pipe transforms your tent into a warm, comfortable shelter even in harsh conditions. Take your time with the installation, use quality materials, and don't hesitate to reinforce or reseal if needed. Your tent—and your camping experience—will thank you.